Monday, 9 December 2013

Clearance Rack Craziness!


Don't delay!  This is an "As Stocks Last" sale and you can miss out!

You can see what is discounted over on my Store, but here is a peek:


As usual, my online store is located here:  My Online Store

Thinlet love

Seen these in the Holiday Mini Catalogue?

Well, I finally gave in and bought them, and I've taken them for a spin:


Paper:  Whisper White, Silver foil, Silver Glitter Paper, Coastal Cabana
Other:  Big Shot, Expressions Thinlets, Paper Piercing Tool,  Stylish Stripes Textured Impressions Embossing Folder, heart punch,  Apothecary Accents Framelits.

Expressions Thinlets, Big Shot, Chalk Talk Framelits, Polka Dot Embossing Folder, Ticket punch


I love how you can use both the positive and negative.    I have also used them on scrapbook pages (which I forgot to photograph).  

TIP:  Some people have found the words are difficult to extract from the die - try using some waxed paper from the supermarket between the die and the card stock.  It will pop right out.  The dies have little holes you can use to help pop the die cut out, using a paper piercing tool.  Ingenious!


Saturday, 7 December 2013

Christmas Chevrons

My 4 Things finished school for the Summer Holidays on 6th December, and I'm afraid I never did get a chance to hold weekly card classes in November  as I'd hoped.  I'm sorry!  The last few weeks of school for the Things were back-to-back Carol Nights, Choir Concerts, Wind Ensemble Performances,  teacher gifts to plan and organise, two Things finishing school a week earlier than the other two Things, work Christmas functions for my husband (some hosted by us), plus a trip to Sydney with Thing 1 for her first interstate Fencing Competition.    Things have been crazy.  As they always are at this time of year.  As they are for you too, no doubt.

Here are a couple of cards I made weeks ago but which I haven't posted until now, both CASE'd from the Stampin' Up! Demonstrator magazine (again).  It is one of the perks of being a Demo - you are never in danger of losing inspiration, because they give you so many wonderful ideas.


holly jolly christmas card 
Tags 4 You Stamp Set; Cherry Cobbler and Shimmery White Cardstock; Season of Style Designer Series Paper Stack; Cherry Cobbler and Old Olive Classic Stampin’ Pads; Linen Thread; Stampin’ Dimensionals; Chevron and Label Bracket Punches
Christmas Ornament Punch • 2013 holiday catalogue • item 132152 • $27.95 
Label Bracket Punch • 2013 holiday catalogue • item 132153 • $27.95 
Chevron Border Punch • 2013 holiday catalogue • item 132154 • $37.95 

Joyful Tidings card:Christmas Collectibles and Christmas Messages Stamp Sets; Shimmery White Cardstock; Season of Style Designer Series Paper Stack; Cherry Cobbler and Old Olive Classic Stampin’ PadsTM; Silver cord (non-SU!); Stampin’ DimensionalsTM; Christmas Ornament Punch; Big ShotTM; Deco Labels FramelitsTM Dies; Chevron Border Punch; Paper Snips


Friday, 6 December 2013

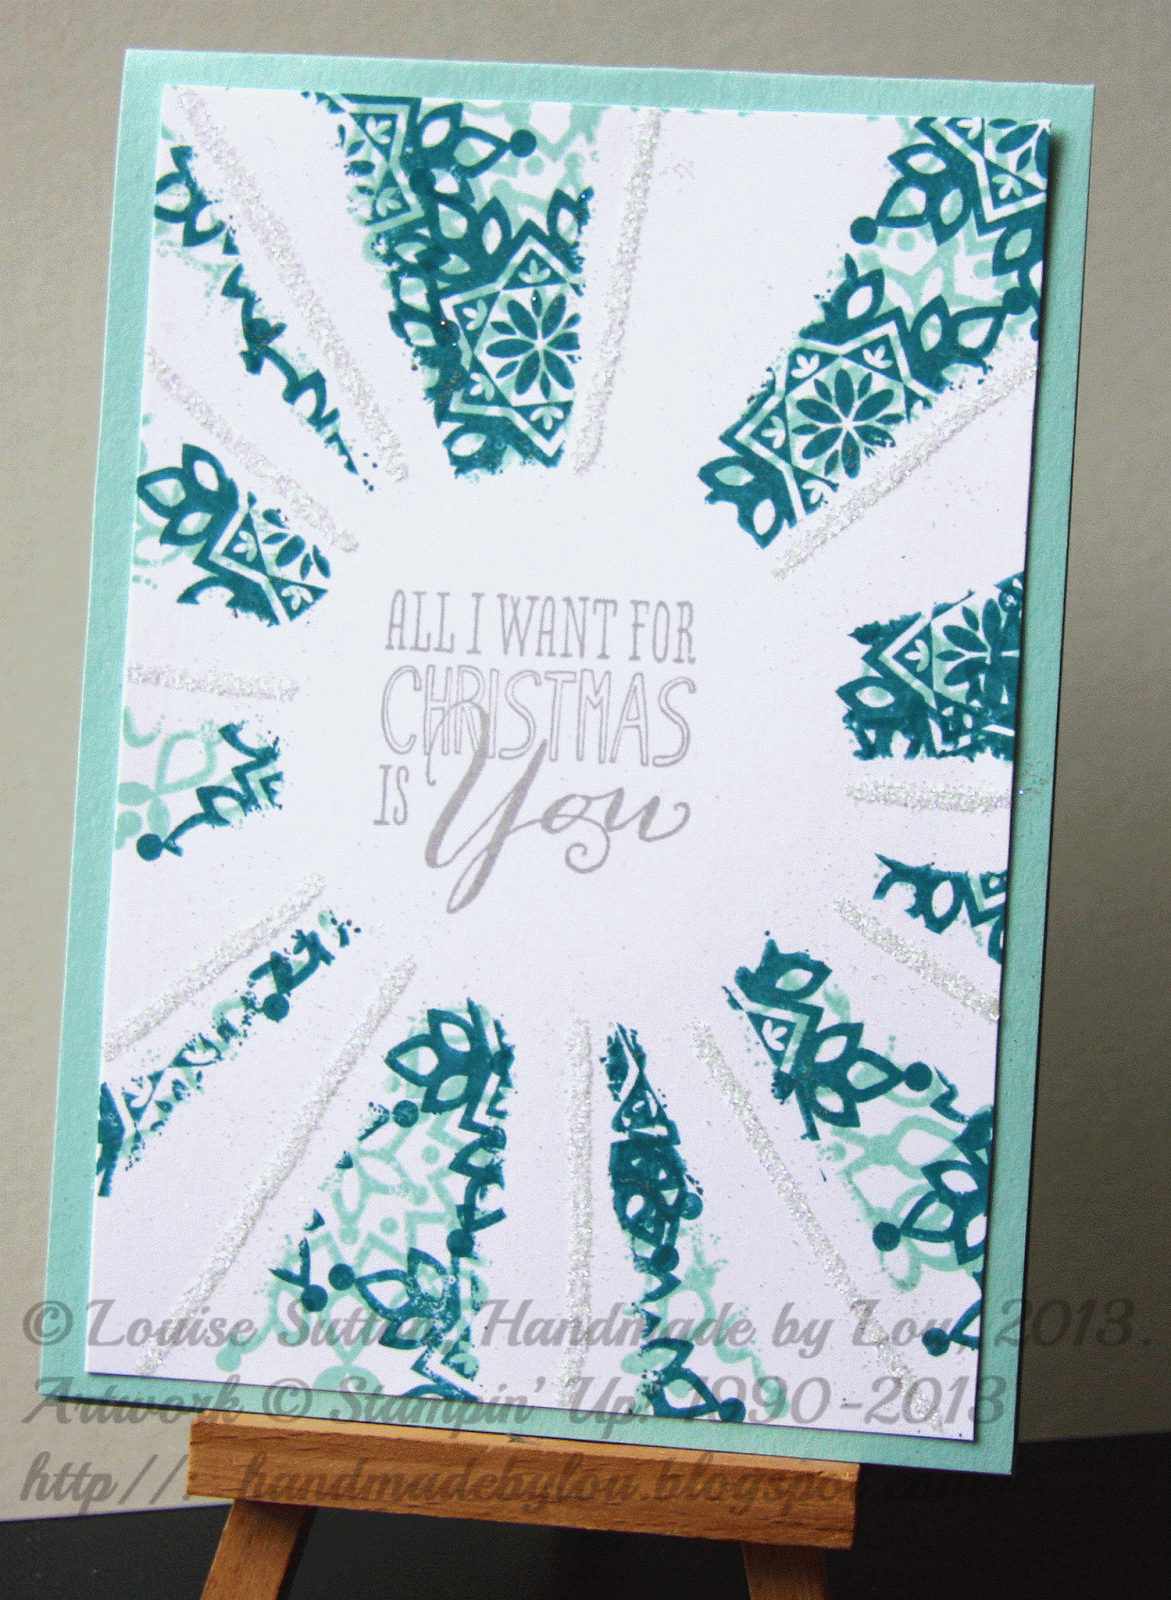
Starbust Technique


I'm back!  With the tutorial for the starburst card, as promised.

 As I said in my last post, this was a project shown to Demonstrators in the Stampin' Up! Demo magazine.  It is fun, and would be an easy one to get the kids involved too!

Joyful Christmas Wishes Card

Stamps:
Festive Flurry Stamp Set
Joyful Christmas Stamp Set
Paper:
Whisper White A4 Cardstock
Pool Party A4 Cardstock
Ink:
Pool Party Classic Stampin' Pad
Island Indigo Classic Stampin' Pad
Smoky Slate Classic Stampin' Pad
Accessories & Tools:
Dazzling Diamonds Stampin' Glitter
2-Way Glue Pen
Stamp-a-ma-jig
Big Shot
Circles Collection Framelits Dies
Copy paper
Pencil
Ruler

Instructions:
Cut and score the Whisper White card 1/4 of a A4 sheet, trimmed by .5 cm on two sides to layer with Pool Party card base).
Cut a rectangle of copy paper the same size to create the mask.
Use the ruler and pencil to mark the center point of the copy paper.
Trace a circle using the 2" (5.1 cm) circle (from the Circles Collection Framelits Dies) in the centre of the copy paper.
Use a pencil and a ruler to draw the starburst lines.
Cut out every other starburst to create the mask. Stop cutting at the circle to leave room for the greeting.
Temporarily adhere the mask over the Whisper White card front.
Stamp the snowflake patterns in Pool Party ink and Island Indigo  ink on the unmasked starbursts. Remove the mask.
Stamp 'Joyful Christmas wishes' in Smoky Slate ink in the centre of the card front.
Draw lines of glue using the Two-Way Glue Pen. Adhere Dazzling Diamonds Stampin' Glitter to the lines. Let dry.  Adhere to your Pool Party card base.

Try this yourself!  I think I will try to recreate a set of these in different colours, too!


Saturday, 16 November 2013

Week in Review


Things I did this week instead of prepare, organise, advertise and invite people to a Christmas Card Class:

L-R, Top Row:  Run from Thunderstorms; My dear Thing 3's Confirmation; More Confirmation;
Middle Row:  Fencing competitions and training for an interstate comp next weekend for Thing 1; Thing 4's "assignment"; Thing 2's Assignment (he's doing a talk about Turkey, so I made a fez);
Bottom row:  A new 'do; Big lizards in my garden; my husband travelled interstate for work.

Not shown:  3 seperate end of year band/choir/orchestra concerts; Thing 1 Speech & Drama AMEB Exam; Exams and Assignments for all the Things; quotes from tradesmen for boring repair stuff; preparation for Confirmation and First Holy Communion (which is tomorrow) for Thing 3, grocery shopping, cooking, cleaning, laundry, driving to pick up Thing 2 when he missed his bus.
Next week I'll be on Thing 4's class trip to the Botanic Gardens, and taking Thing 1 to Sydney for her first interstate Fencing Competition.  Exciting.  But crazy busy; who'd have thought having 4 kids at 3 different schools could possibly mean life is incredibly busy at the end of the year?  It also means, despite my good intentions, there will be no class again this week.  Sorry everyone!

In the meantime, I have some cards to show you - I made two similar ones using the Starburst technique, which I learned from reading the Stampin' Up! Impressions Magazine for Demonstrators.  Full of cute ideas!


Want to know how they were made?  I'll tell you next time!


Sunday, 10 November 2013

Halloween Recap


Here are some MDS Digital scrapbook pages I've been working on, because I took some photographs of my children dressed up for their first Halloween Trick or Treat:


MDS Downloads:  Border Banter

The first two pages are templates where I only had to drop in a photo - so easy!  Very quick.   This photo of Thing 4, my six year old, makes me smile.  He loved me using face paint and while I didn't quite give him the fangs he wanted, I did give him "drops of blood" and he was well satisfied with my handiwork!  

MDS Downloads:  Toxic Treats

The third page I made from scratch as a challenge to use a neutral palette - I didn't end up submitting it to the challenge because time got away from me, but I broke the rules a little for the one flash of contrasting colour.

MDS Downloads:  Amped Up Ampersands, Halloween Bash,  Bitty Bat Punch, Paper Doilies

I've been working with stamps and ink, too, so you'll see some -gasp- actual stamped cards shortly!

Have a lovely week, and Happy Stamping!

Sunday, 3 November 2013

Digital Days!


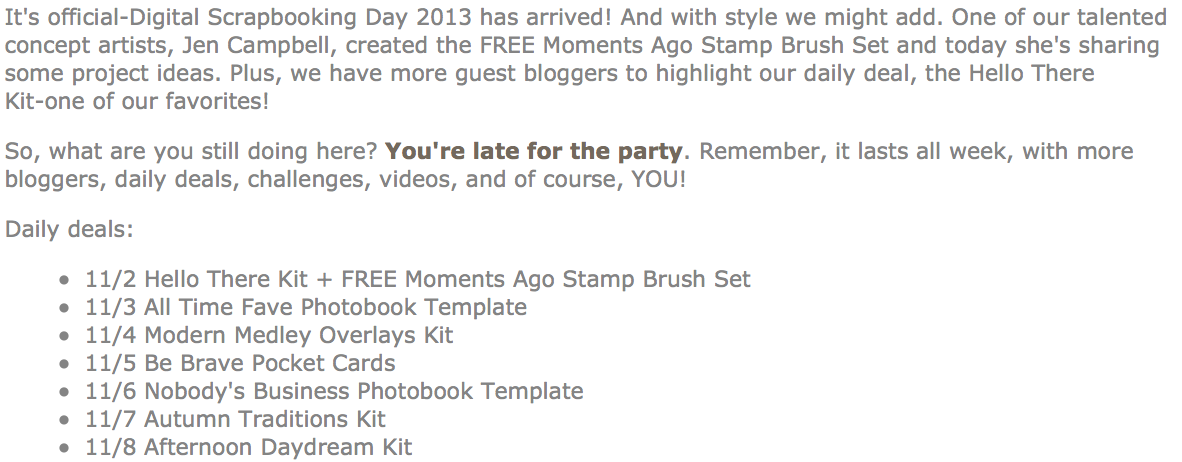
Again, I'm a little late letting you know about this promotion (seriously, this past week has been crazy) but it's a good one!  Each day for a week (1st to 8th November) there is a different deal.

Check mydigitalstudio.net each day for more details.


Getting closer....

It's nearly that time of year, where the retirement list comes out.  That means the in-colours we've loved the past 2 years are leav...