Tuesday, 17 November 2015

20% Off Selected Stamps!


Can you believe it?  Love me a bargain!  Click on the link over there on the right to see the list of goodies on special until 20th November.  

Here are a few of my favourites that are on sale - if you haven't already got them, take advantage of this special ASAP.


This is big news - for the first time, Stampin' Up! has released a list of the products from the Holiday Mini that will be retiring, so you get to make sure you don't miss out.  Isn't that awesome? 
Over on the right, you can click on the link to see the full list.  My personal favourites?
Product List
post signature

Friday, 13 November 2015

One Stamp Set, Three Ways

I love Christmas in Australia - not that I've experienced Christmas anywhere else, yet.  I love the gorgeous poinciana trees that flower in December here. We have one in our back yard that makes me happy to look out my kitchen window.  Unfortunately, it drops loads of leaves into our pool, and my husband is colour blind, so he never appreciates it's beauty.  

This is not my tree, but one from the internet:


Isn't it lovely?  And so Christmassy!

Another plant you only see at Christmas time, which I also love, is the Poinsettia.


So when I saw the Poinsettia flowers in the Reason for the Season stamp set, I had to have it!

Here are three pretty quick and simple cards I've made using this set - even the more complicated "Stepped up" version is pretty quick to assemble.


Pretty straightforward:  Stamp the outline flower image in black, taking care to note the orientation of the stamp, so it is easier to "line up" the petal and leaf stamps.  Don't beat yourself up if your colouring goes outside the lines - it will still look great.  Stamp the sentiment in green and then go over it in black ink, moving the stamp slightly so you get a "shadow" effect.  Mount the panel on Real Red yardstick and Cucumber Crush envelope paper before adhering to the card base.

Make panel of card the same way as in the first card.  Place a panel of the patterned side of greed envelope paper down, then arrange the top panel on a diagonal angle, with a gold foil doily cut in half and adhered as shown.  You might prefer stamping the sentiment in Versamark them using gold embossing powder if you want to bring up the bling factor.

This final card is again, simple, but I still think it works.  Just stamp the flower four times in black on the corners of the panel of white.  Stamp the leaves and petals as before, stamp the sentiment in black in the centre.  Adhere to card base.


Product List

post signature

Sunday, 18 October 2015

Extra Stampin' Rewards? Yes Please!


Have you noticed the latest Stampin' Up! Promotion?  I know my newsletter had something in it about this awesome deal, but I forgot to put it in a  Blog Post.  I'd best remedy that now!


You get an extra 3% in Stampin' Rewards when you hold a workshop or place an order with at least $400 in retail sales.  With all the goodies in the Occasions Mini, that doesn't take long, especially if you get together with a friend to combine your wish lists.  You can even use it towards the cost of a Starter Kit if you'd like to join my team!


I'm hoping to host another class this coming Thursday too so be on the look out for my email.  


post signature

Monday, 5 October 2015

Can't Stop Making These!


You can never have too many pillow boxes, right?  I hope not, because they are seriously addictive to make.  Ever since my last class where we made one, I've been trying out different ways of decorating them.

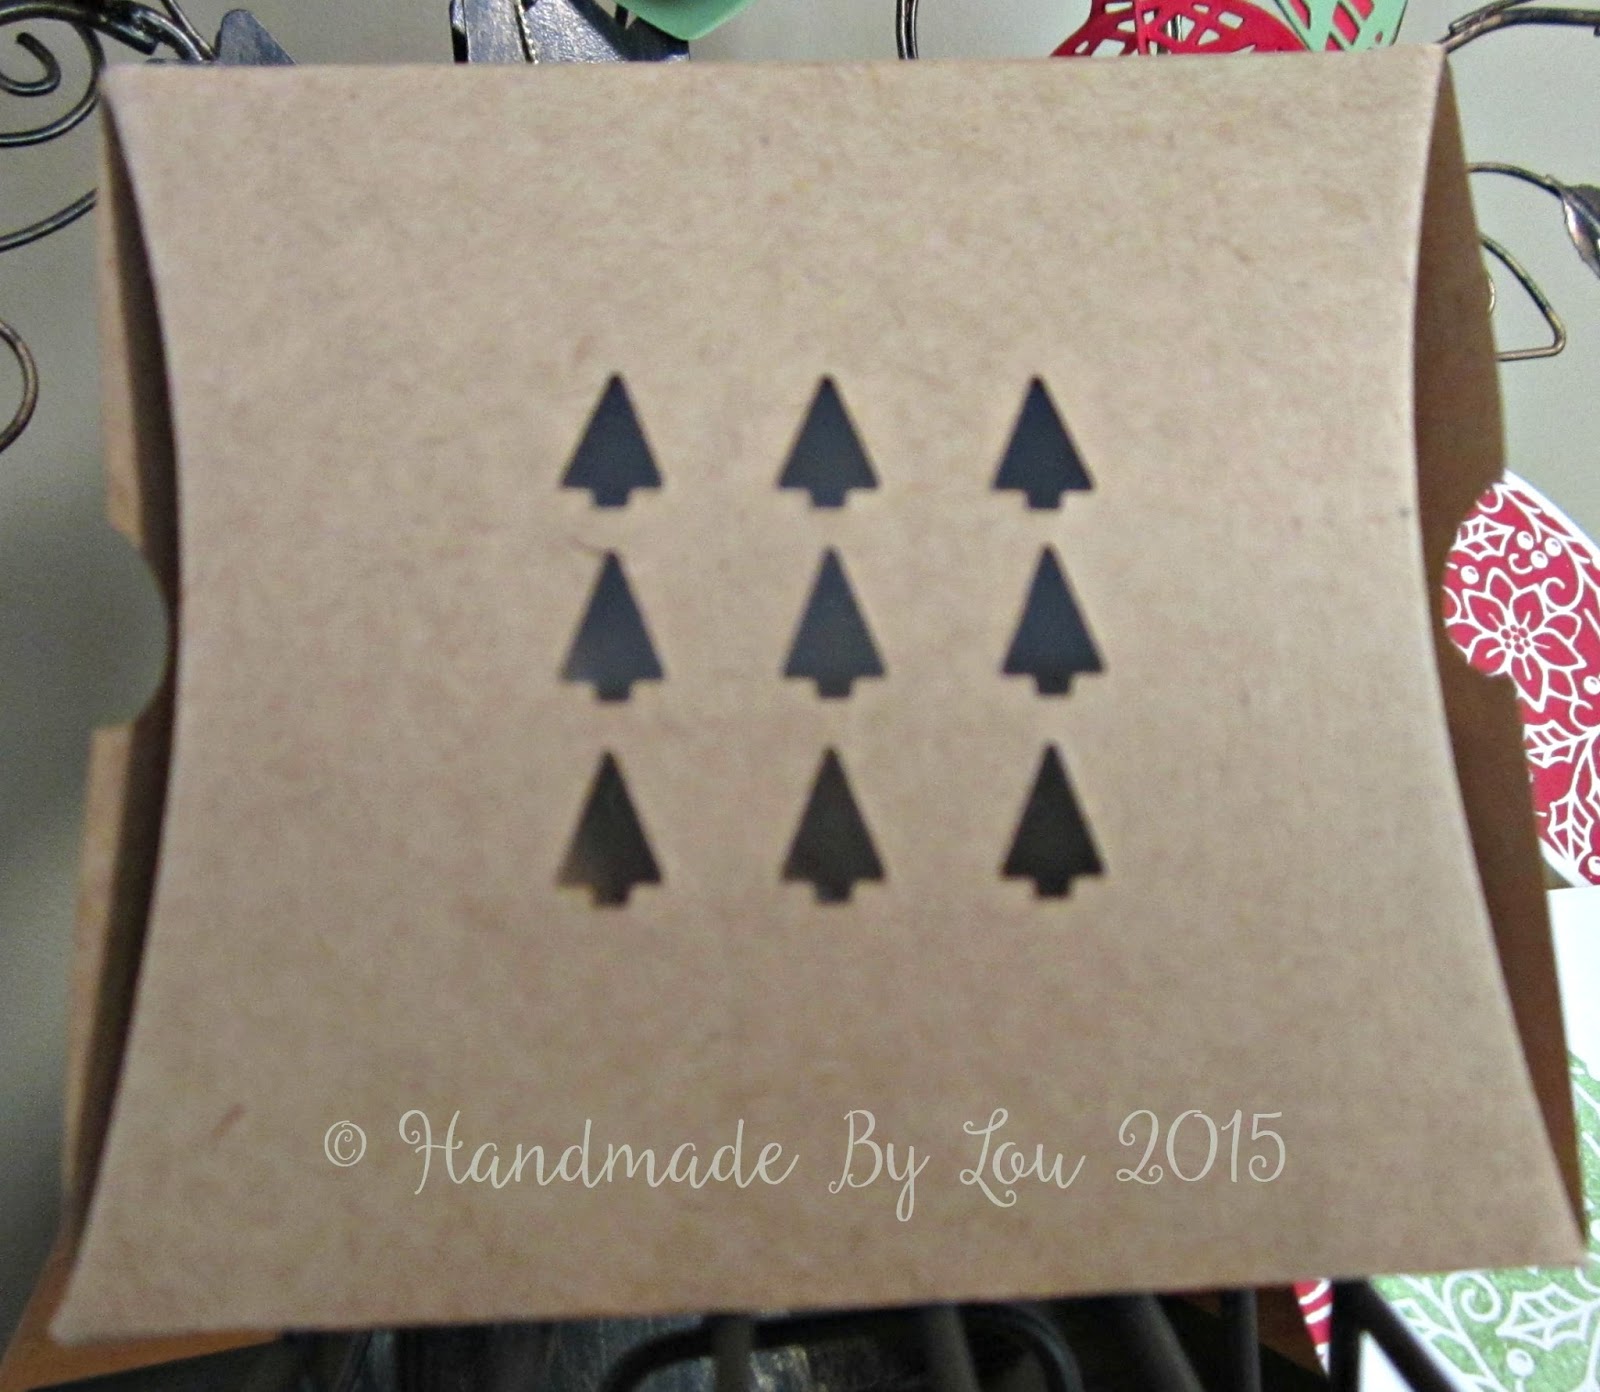
The frame lit set comes with these cute Christmas trees and snowflake (there is a co-ordinating stamp set, naturally), and I've had fun lining them up and putting a bit of Window Sheet behind the cut out design.    Add a cute hand made tag, a bit of baker's twine or ribbon and you are done!

I've been hoarding these colourful jingle bells for a while; don't they look great as part of the packaging?

Pro TIP:  The Magnetic Platform for the Big Shot really helps the little tree framelits to line up straight! 

I also discovered that a strip of the Envelope Paper is an easy way to make a belly band around your box - and if you have a handmade card, you can co-ordinate the envelope.  Win!

I didn't realise until later that this ribbon is retired; however there's a very similar ribbon in the Holiday Mini!

The other things I can't stop making at the moment are these layered cards:


I just adore these edgelits!  I love how you can use the positive or negative, and the cute stamps that match just make my matchy-matchy heart sing.  

White on white looks crisp and clean, and Stampin' Dimensionals  add a bit of height without bulk.

Classic Green and red combination!  The green is the envelope paper again.

And, in case you wondered......


Product List

post signature

Getting closer....

It's nearly that time of year, where the retirement list comes out.  That means the in-colours we've loved the past 2 years are leav...