Saturday, 6 December 2014

Christmas Craft For Kids?

I know I've been making heaps of gift tags lately, but I do find that they are so very handy to have on hand.
This is a project I told my customers about in my most recent newsletter.  Its an easy project your kids could do!

Step 1:  Stamp an A4 sheet of Whisper White Cardstock with your choice of stamps, in your favourite colours.


Step 2:  Using your Paper Trimmer, cut your Cardstock down the middle vertically (10.5cm) and then into 5cm strips.

Punch with the Angled Tag Topper Punch and tie some Baker's Twine through it - you're done!

Or you can step it up by edging with some ink and a sponge dauber and adding a few dots of glitter glue, your choice!

Here's another one I did for birthday tags (Mosaic Madness Stamp Set)


And voila!
So give each child a sheet of A4, no more than 3-4 colours and stamps, and let them go to town.  Once they are done, cut up the A4 sheet to make 10.5cm x 5 cm tags, and punch with the Tag Topper Punch.  Tie some ribbon, Baker's Twine, knitting wool, or any old string through the top and you've kept your kids entertained for a while.  Plus topped up your stash.  :-)
post signature

Friday, 5 December 2014

Year End Closeout!

WOW!  Here are the products being sold - look at how many Christmas products there are!  From the Occasions Mini no less! 


Go to my online store to snap up a bargain NOW!  
post signature

Sunday, 30 November 2014

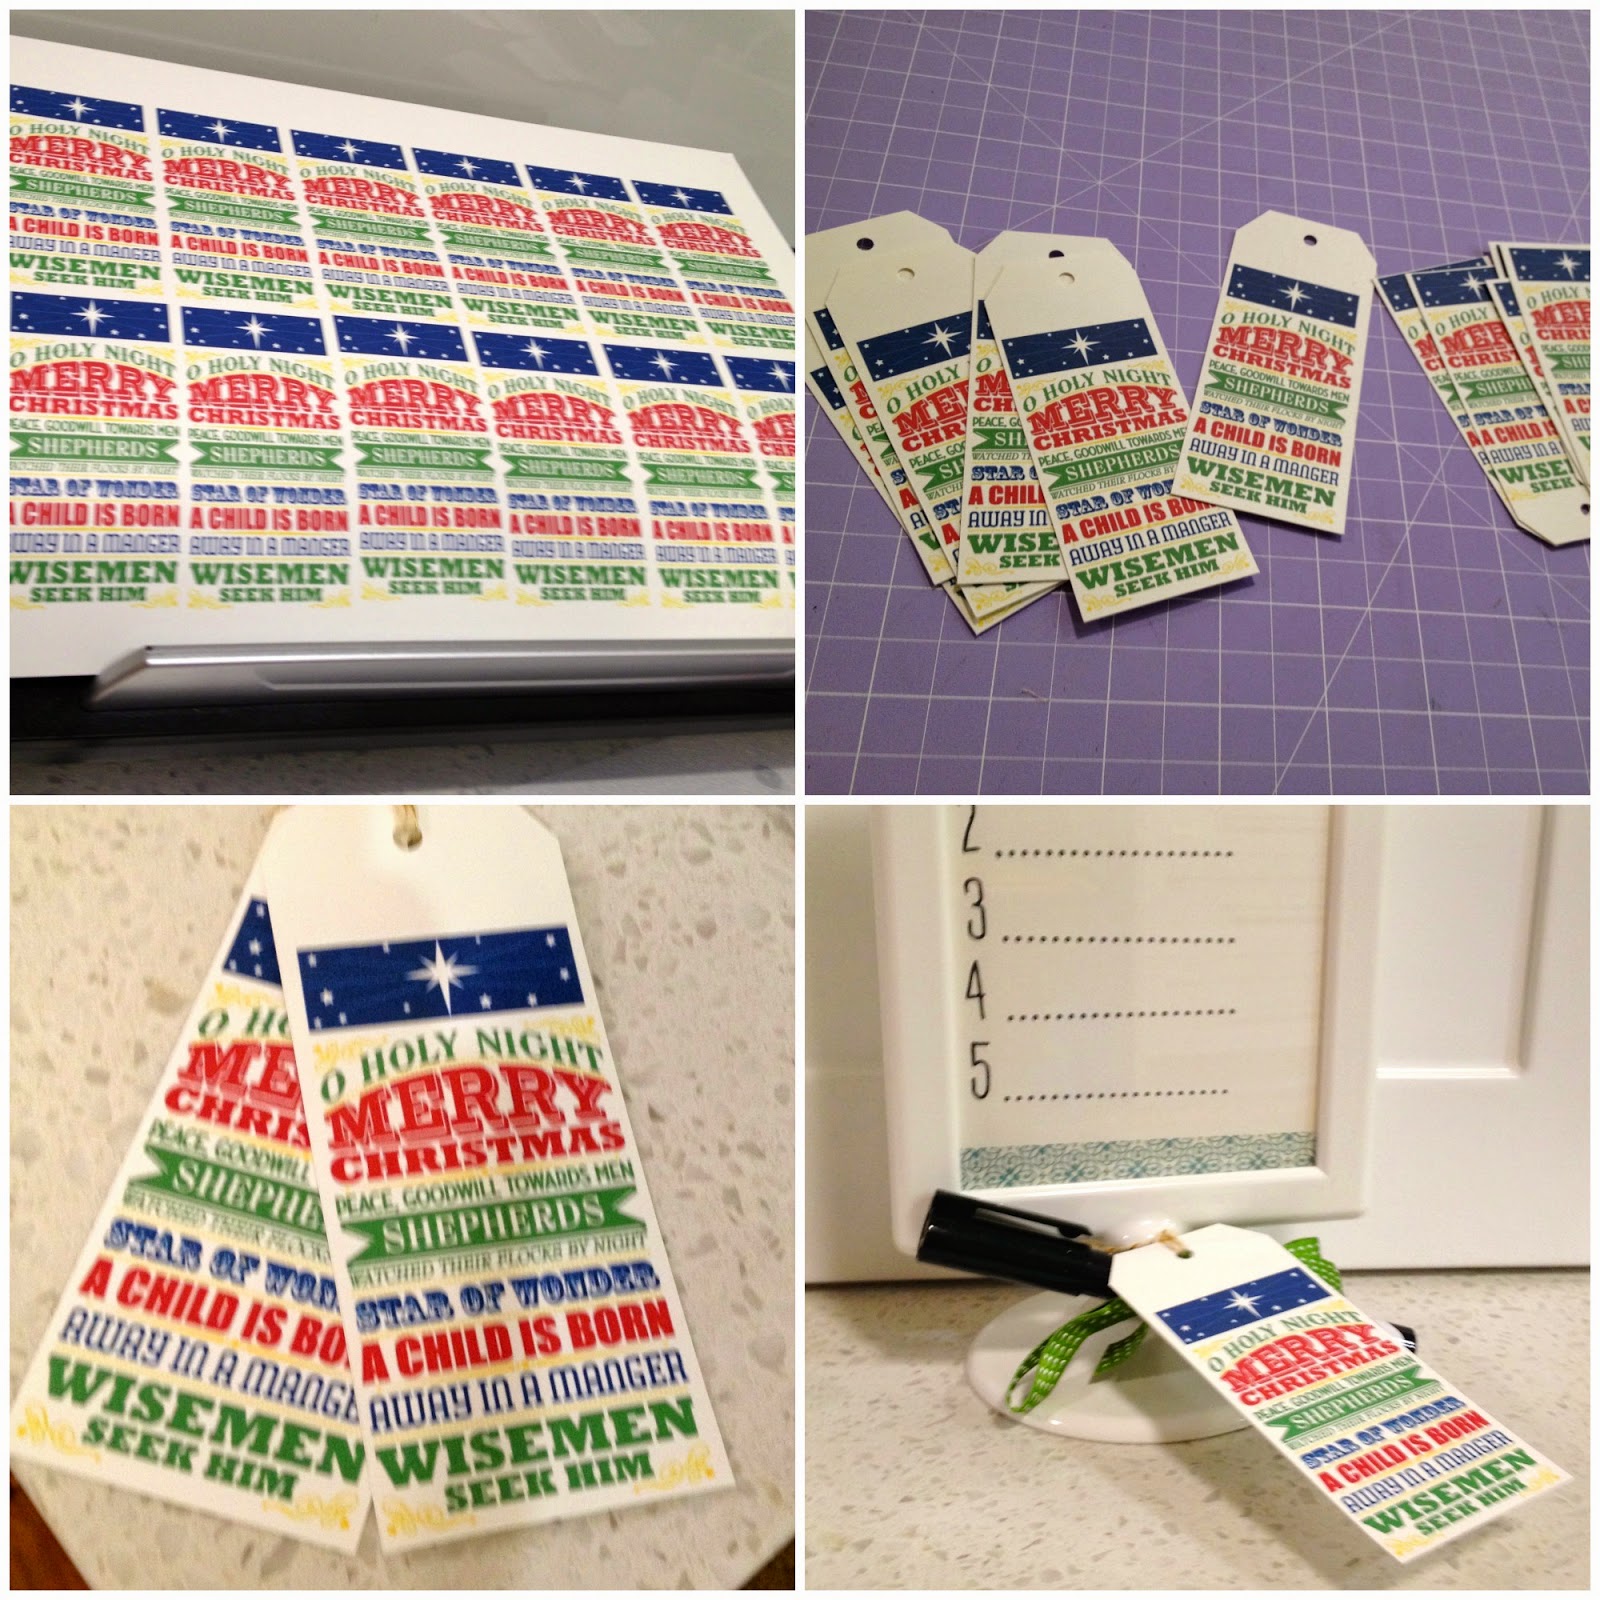
Quick 'n easy tags with My Digital Studio


I love being able to make things on the fly - let's face it, with all the craziness going on at this time of year, I'm never as prepared as I'd like to be.  This is something you can have up your sleeve - you can make them up quickly, or have them all ready to go, depending on your schedule.  
This MDS download is perfect for tags - or for a bit of Christmas Subway Art!  I love it.

All I did was make a blank A4 page for my project, then recoloured the stamp to my liking, sized it to the tag size I preferred, filled the page and printed out a whole page on Whisper White Cardstock on my home printer.  Ta Da!

Then I just used my paper trimmer to cut out the individual tags, and punched the top (or bottom) of the tag with the Angled Tag Topper Punch, put a little Baker's Twine through the hole, and they were done.


If you'd like to make these yourself, click on the links below!
post signature

Wednesday, 26 November 2014

Easy Christmas Presents for Teachers

If any of my children's teachers read my Blog, look away now!  LOL.
Yes, I've discovered PicMonkey, and I'm amusing myself trying new effects!
I'll post about the tags - made with My Digital Studio - tomorrow, I hope.  Today's post is all about the super-easy and cute Mini Whiteboards I made.
The frame is from IKEA, and I need to go back to get more!  
How cute is this little desktop Whiteboard?  You can write on it with a dry erase marker (I have attached one to the frame, of course).  I made this little list - perfect for To-Do's with some Whisper White cardstock,  stamped with black ink.  The numbers and dots are in the Project Life Stamp set.  Then I added a little washi tape top and bottom and the job is almost done.


A dry erase marker attached with some retired ribbon, and on the other side:-


Cute free printables!  I have a collection of them.   I printed them at home onto whisper white cardstock, but you could get them printed elsewhere.   I downloaded my printables from :
2. Elegance & Enchantment (this is no longer free, but was when I downloaded it)
4.  Elegance & Enchantment (Again, no longer free, but new freebies added each week)

If you search "Free Printables" on Pinterest, you will be lost for hours.  There are thousands of gorgeous freebies out there.


You could make one yourself with My Digital Studio - unfortunately I am having some trouble with mine (SU Support are helping me with it) so I used the freebies I already had in my stash.  

I added a tag I'd made previously with My Digital Studio (before I started having issues - I'm sure they'll be ironed out soon) tied with gold striped Baker's Twine.  

What do you think?

post signature

Thursday, 20 November 2014

Graduation Cards


This week marks the end of school forever for this year's crop of Year 12 students.  My daughter volunteered my services to make six cards for the girls in her House who were graduating and I took up the challenge.  The photos aren't brilliant, as I only had time to snap a quick pic with my phone before they were whisked away.
I used one of my favourite stamps - Feel Goods (page 36 of the Catalogue) - because I feel the sentiment "She Believed She Could...So She Did" is particularly inspiring to young women.


And inside, these words from the Something To Say stamp set are pretty applicable for graduates!

Here are blurry close ups of each card - pretty simple, but special all the same.  


Here are all the products I used to make these cards:
post signature

Getting closer....

It's nearly that time of year, where the retirement list comes out.  That means the in-colours we've loved the past 2 years are leav...